The Client Dashboards feature in Megalytic enables you to give clients real-time online access to all their reports. This article describes how to set up Client Dashboards in your account
Watch this video to see a quick overview of the process.
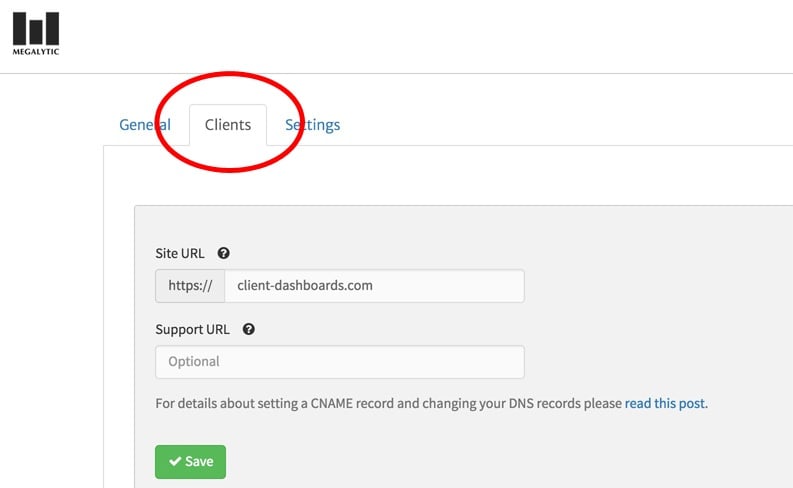
If the Client Dashboards feature has been activated for your account, you can set it up from the “Clients” tab on the Management Section of Megalytic. If your account does not include the Client Dashboards feature, you can request a trial by contacting support.
Hosting Your Clients’ Dashboards
By default, your client dashboards are hosted at https://client-dashboards.com. If you are happy hosting your client dashboards there, then you don’t have to do any more setup. However, if you want to use your own domain, e.g., https://dashboard.mycompany.com, then you will need to create a CNAME record pointing from your domain to client-dashboards.com; AND you will need to provide us with an SSL certificate for your domain. Once you have done that, you can enter your domain into the “Site URL” field. If you want to set up your own domain like this, please contact us by submitting a help request. For more details, see: White Label Client Dashboards.
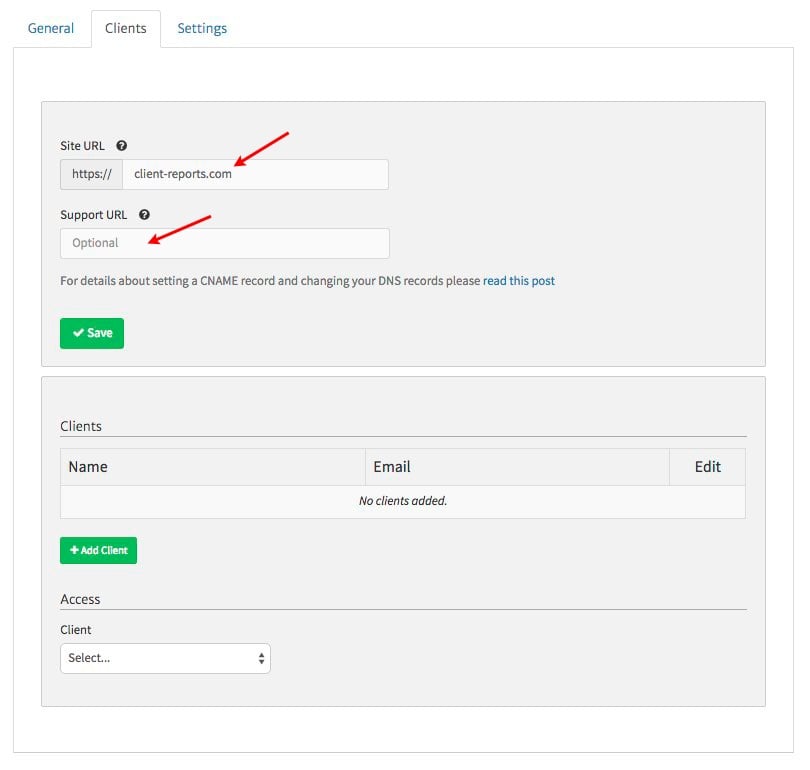
The “Support URL” field is optional. You can use it if you want to provide your dashboard users with a link to your own support website. In this case if an error occurs in a dashboard, Megalytic will provide a message indicating that the user should click on a link to your support website. If you do not supply a “Support URL” field, then Megalytic will not provide any such messages.
Adding a Client Dashboard
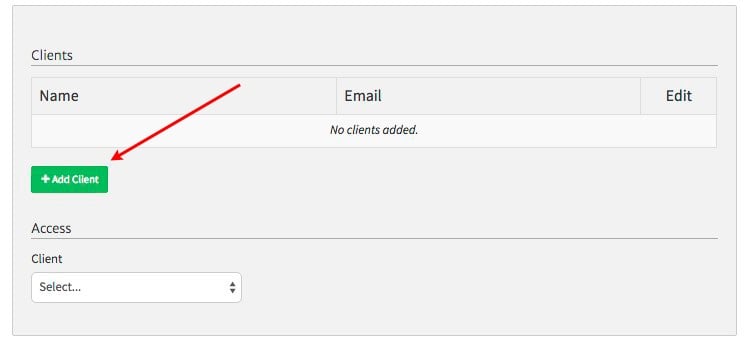
To add a client dashboard to your account, start by simply clicking on the “+Add Client” button.
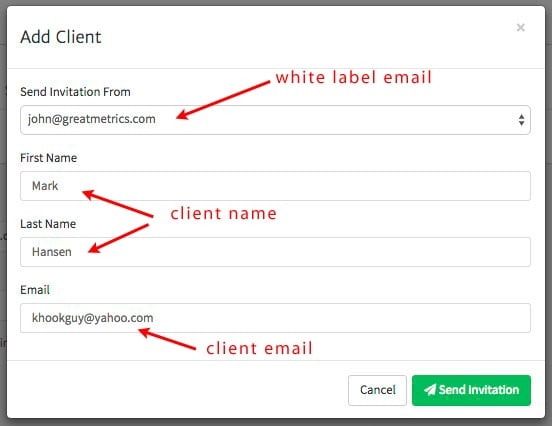
Complete the form that pops up to send an invitation to your client. Select the email that you would like to send the invitation from. If you select the default – no-reply@megalytic.com – then your client will receive an invitation from Megalytic. However, if you have set up White Label Email, then you can send these invitations from your own email address. The image below shows the invitation form filled out using a white label email address.
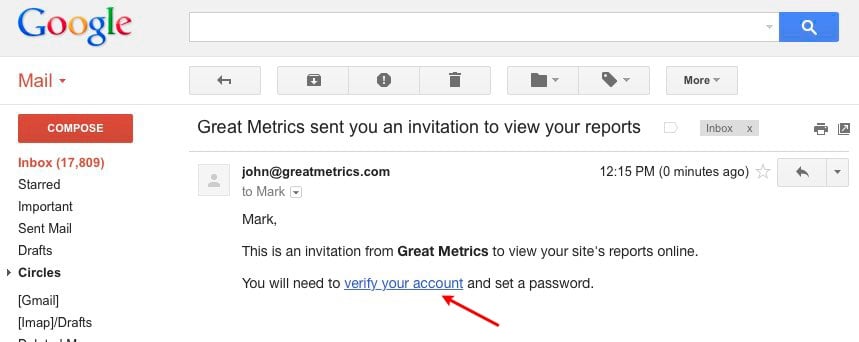
Your client will receive an email, like the one shown below, and they will click on the “verify your account” link to be directed to their dashboard setup where they can set their password.
Once you client clicks on the email link, they will be directed to the page shown below to set their password.
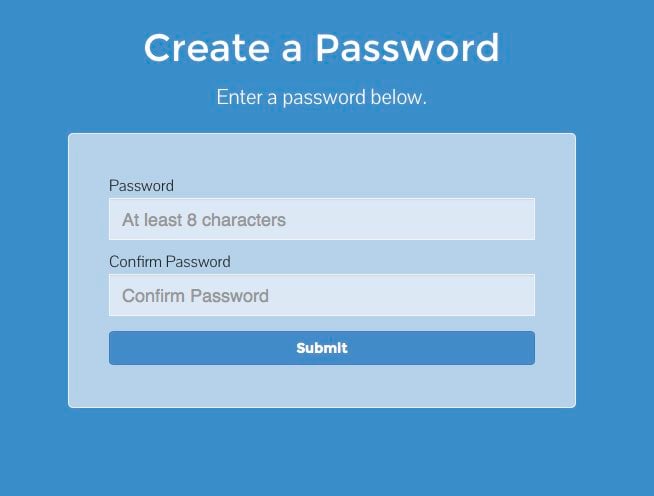
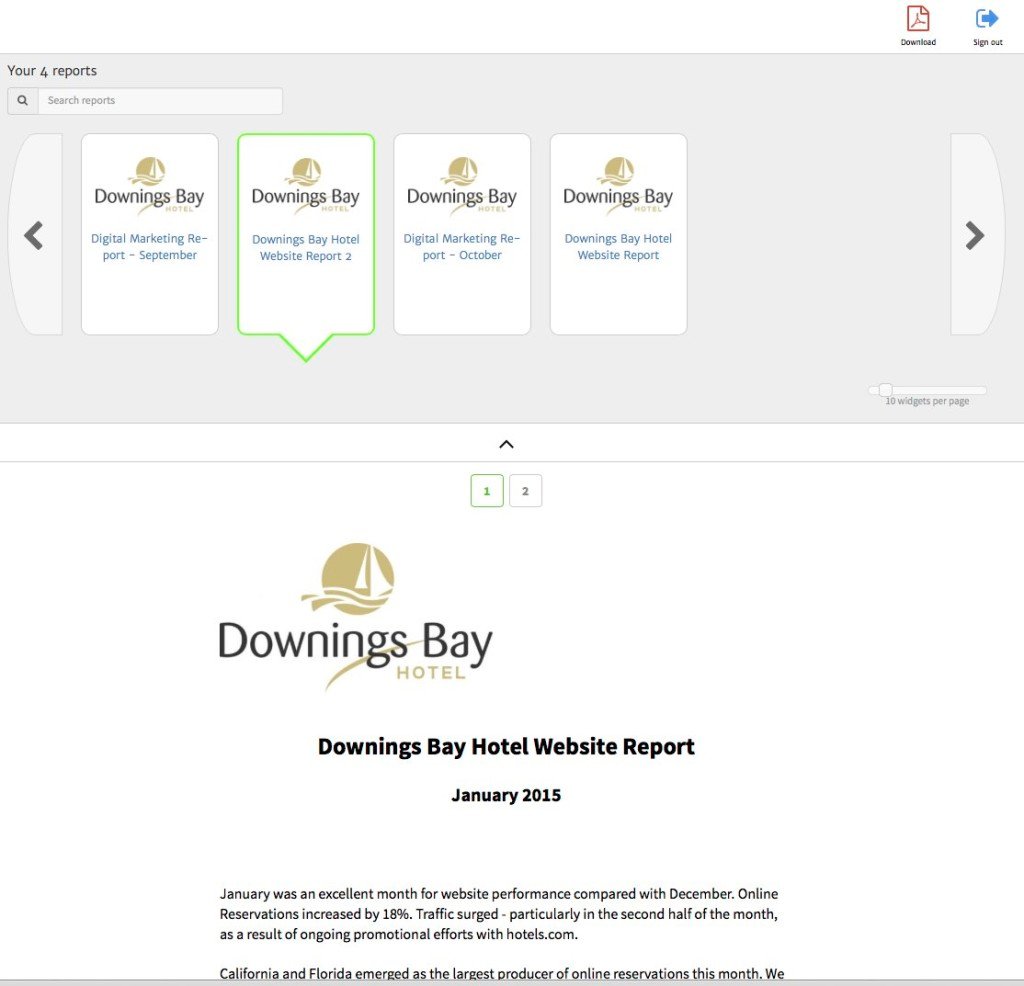
After that, they will enter their dashboard area and have access to all the reports that you have selected for them.
Selecting Reports for Your Client to See
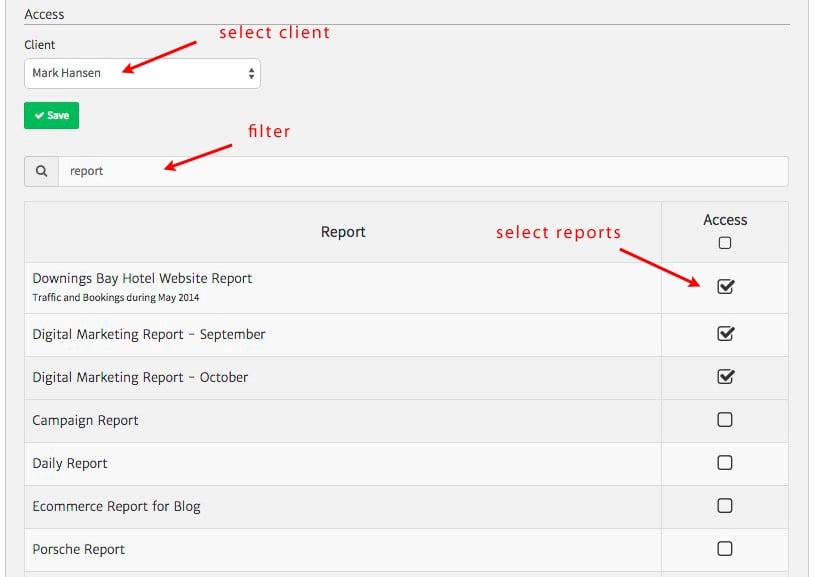
Until you select reports for your client to view, there will be none visible in their dashboard. To select reports for them, scroll down to the “Access” section and select your Client. You can use the filter to narrow down the list of reports. Then, just check the boxes in the “Access” column for the reports that you want your Client to have access to. And click the “Save” button.
Here, we have selected 3 reports, “Downings Bay Hotel Website Report”, “Digital Marketing Report – September”, and “Digital Marketing Report – October”.