
May 21, 2024
How to Install and Debug the Facebook Pixel using Google Tag Manager
By Megalytic Staff - August 24, 2018

Set Up the Facebook Pixel Code
Your first step to installing GTM is to get the Facebook pixel code so you can then use GTM to install it. To do this, log in to your Facebook Business Manager account and open Events Manager > Pixels
![]()
If you don’t already have a Facebook Pixel, click on the “Create a Pixel” button.
![]()
Otherwise, click on “Details” and then “Set up.”
![]()
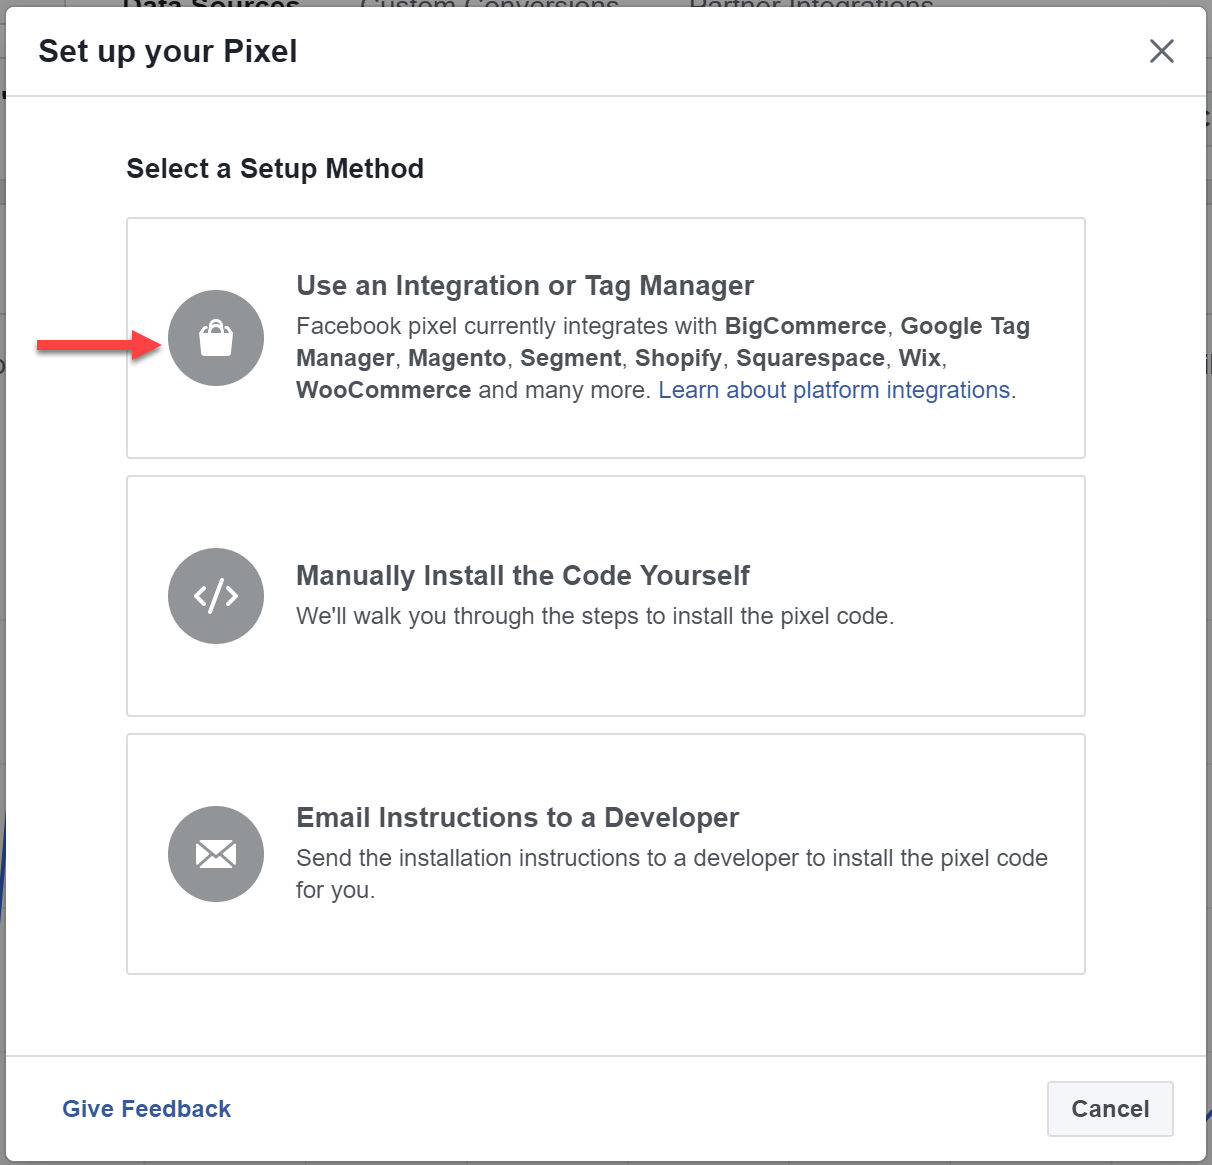
Once your pixel is set up, a dialog box will appear. Choose “Use an Integration or Tag Manager.” This will make the process a lot easier because rather than requiring you to copy and paste code, it uses automation technology to automatically integrate Facebook’s pixel code into your GTM account.
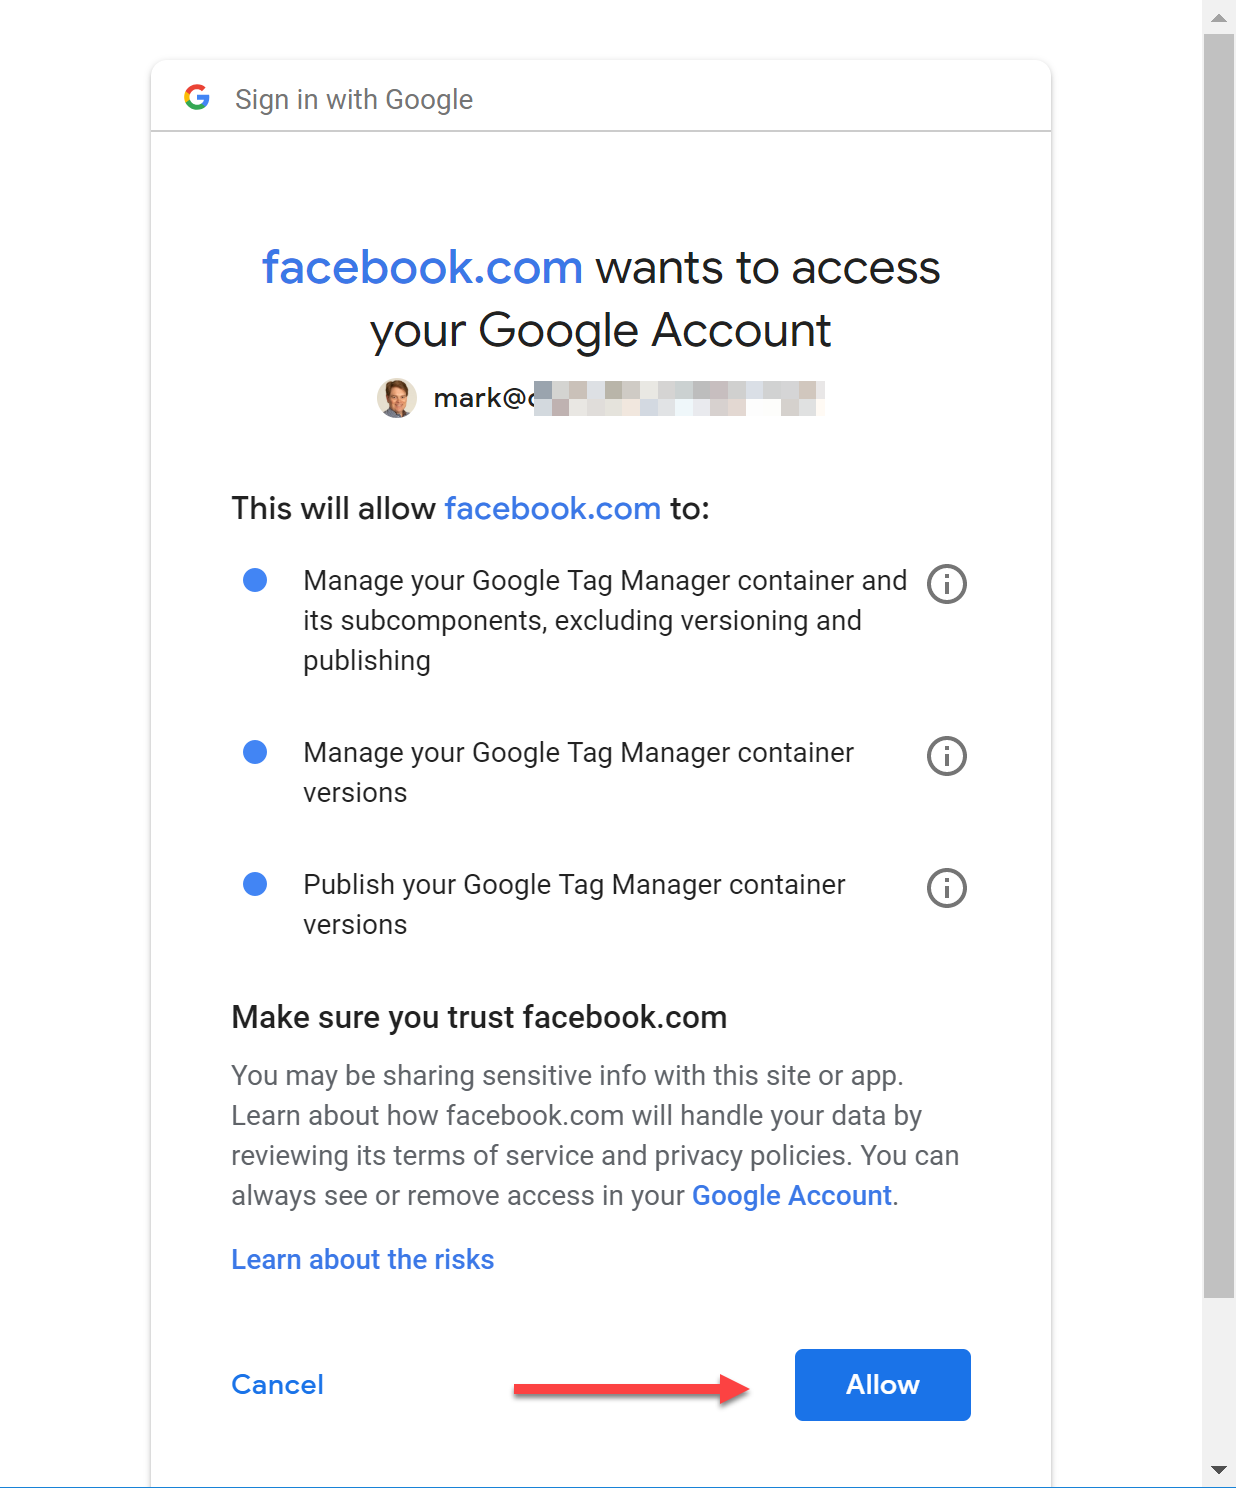
Next, you’ll see a list of choices. From the list, pick “Google Tag Manager” and follow the instructions. Then log into the Google account you’ll use with GTM and grant Facebook access. This will ensure that Facebook can edit and update your GTM account.
At this point, you can simply follow the instructions on the subsequent screens to verify and confirm the integration of your Facebook and GTM accounts. As you reach the end of the process, keep in mind that once you click “Finish Setup,” it may take a few minutes for Facebook to create the correct tag and publish it in your container. After three minutes or so, login to your GTM account and refresh the tags. Here, you should see a newly created Facebook Pixel tag that looks like this:
![]()
Inspect GTM’s Custom HTML Tag Created by Facebook
Now that you’ve created your Facebook Pixel tag, you’ll need to inspect it to make sure it’s ready to fire. To see the pixel tag's code, click on the tag in GTM. This will open the GTM tag editor. At the top of your screen, you’ll see a “Tag Configuration” box, which is a Custom HTML tag. This means it uses custom code to implement the tag. Inside the HTML box, you’ll see the custom code Facebook has generated to deploy its tag (the Facebook Pixel) on your website.
![]()
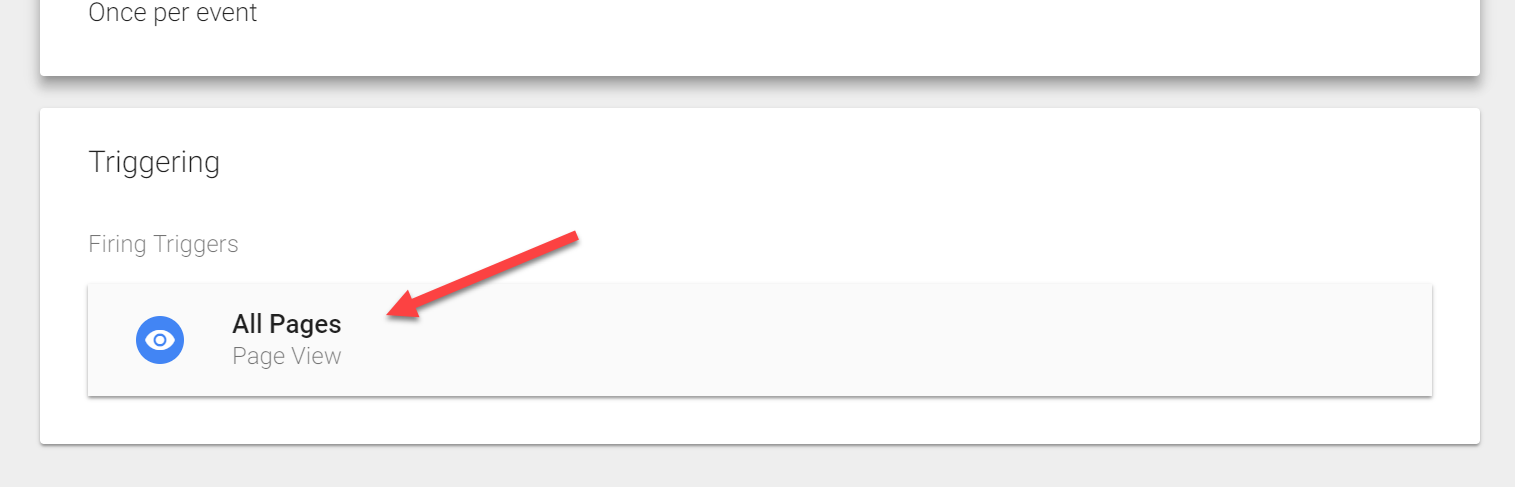
Once you’ve arrived here, scroll down to the box labeled “Triggering.” This defines when the Facebook Pixel code will be run (or be “fired”). As you can see, it is set to fire on All Pages. This is the default recommended behavior for the Facebook Pixel, which works successfully in most cases.
Test to Make Sure GTM is Firing the Facebook Pixel
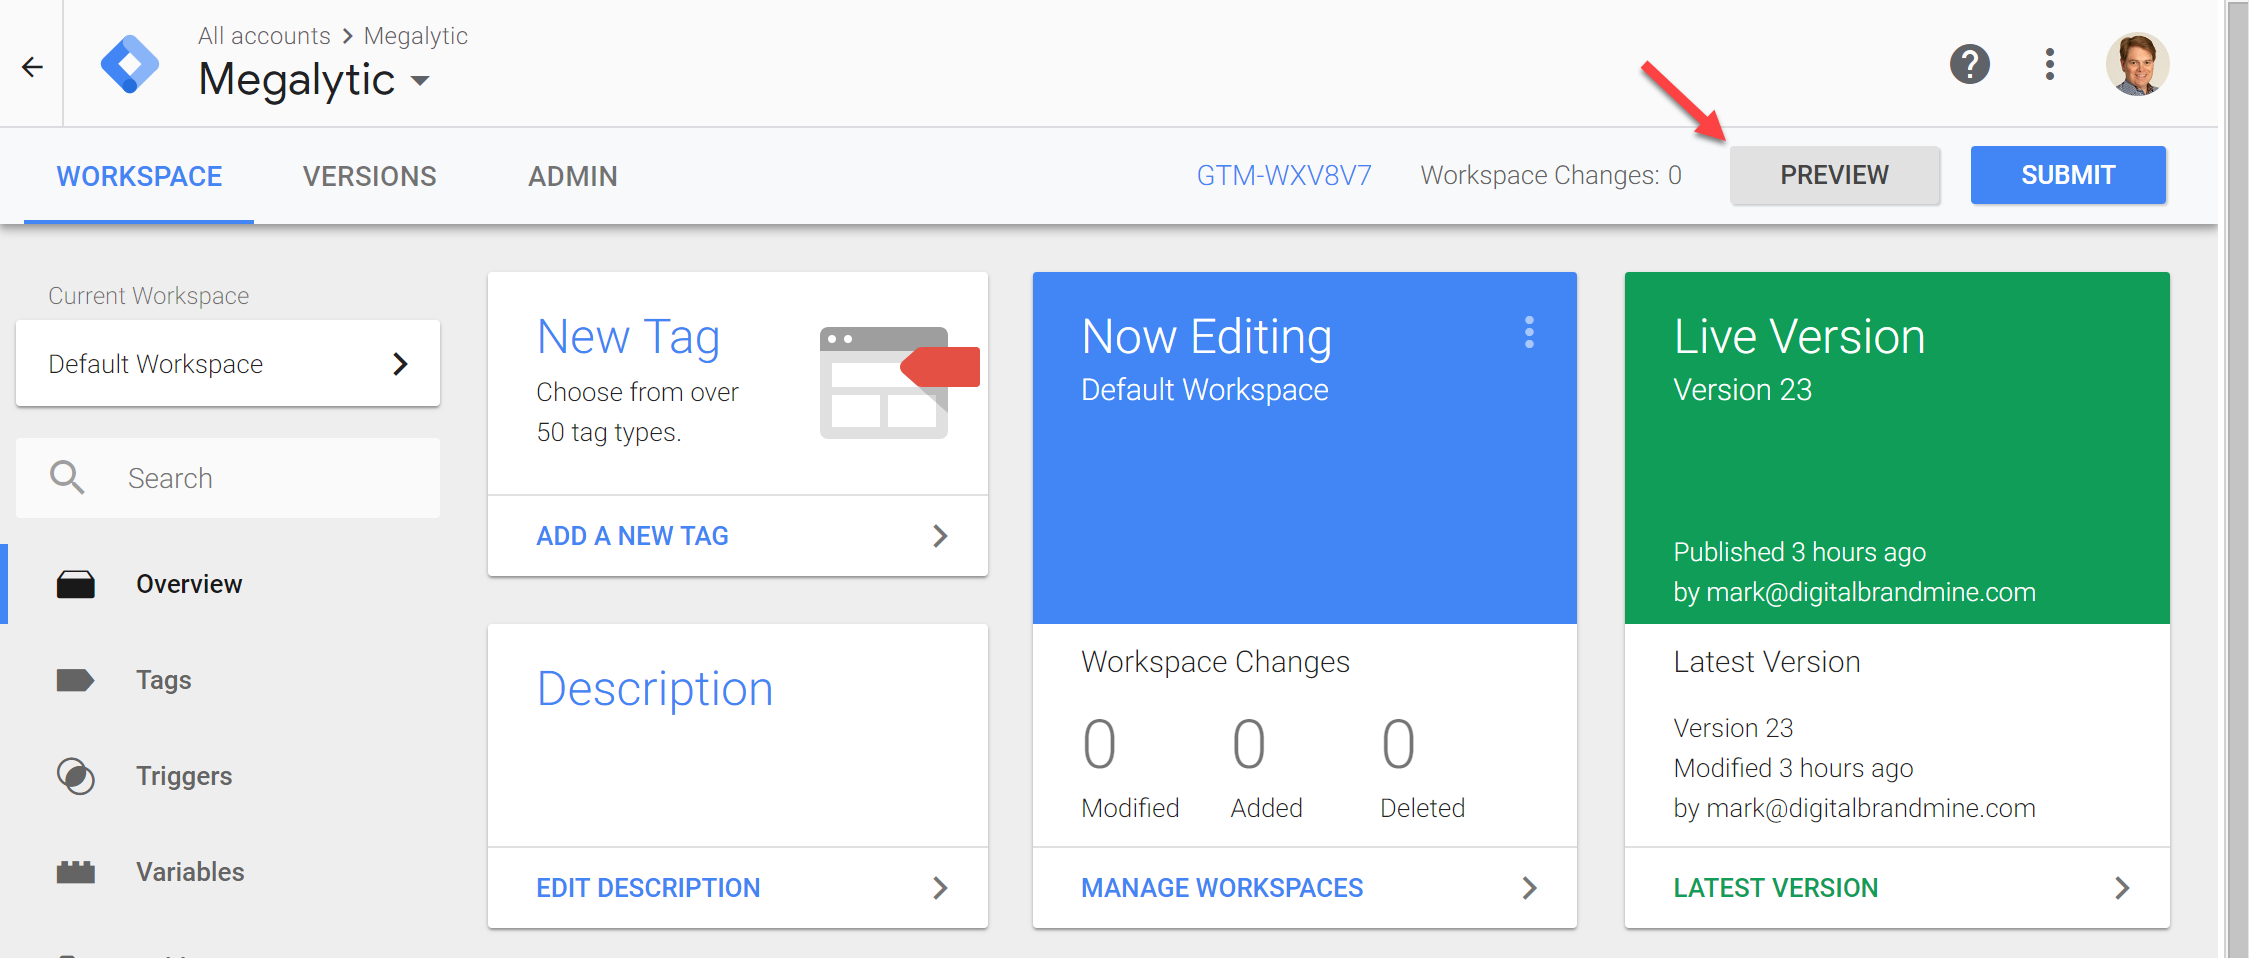
Now that you’ve created a Facebook Pixel tag in your Google Tag Manager account, you’ll need to make sure that GTM is “firing” this tag on your website pages. You can check this by using GTM Preview Mode . Just click the “Preview" button.
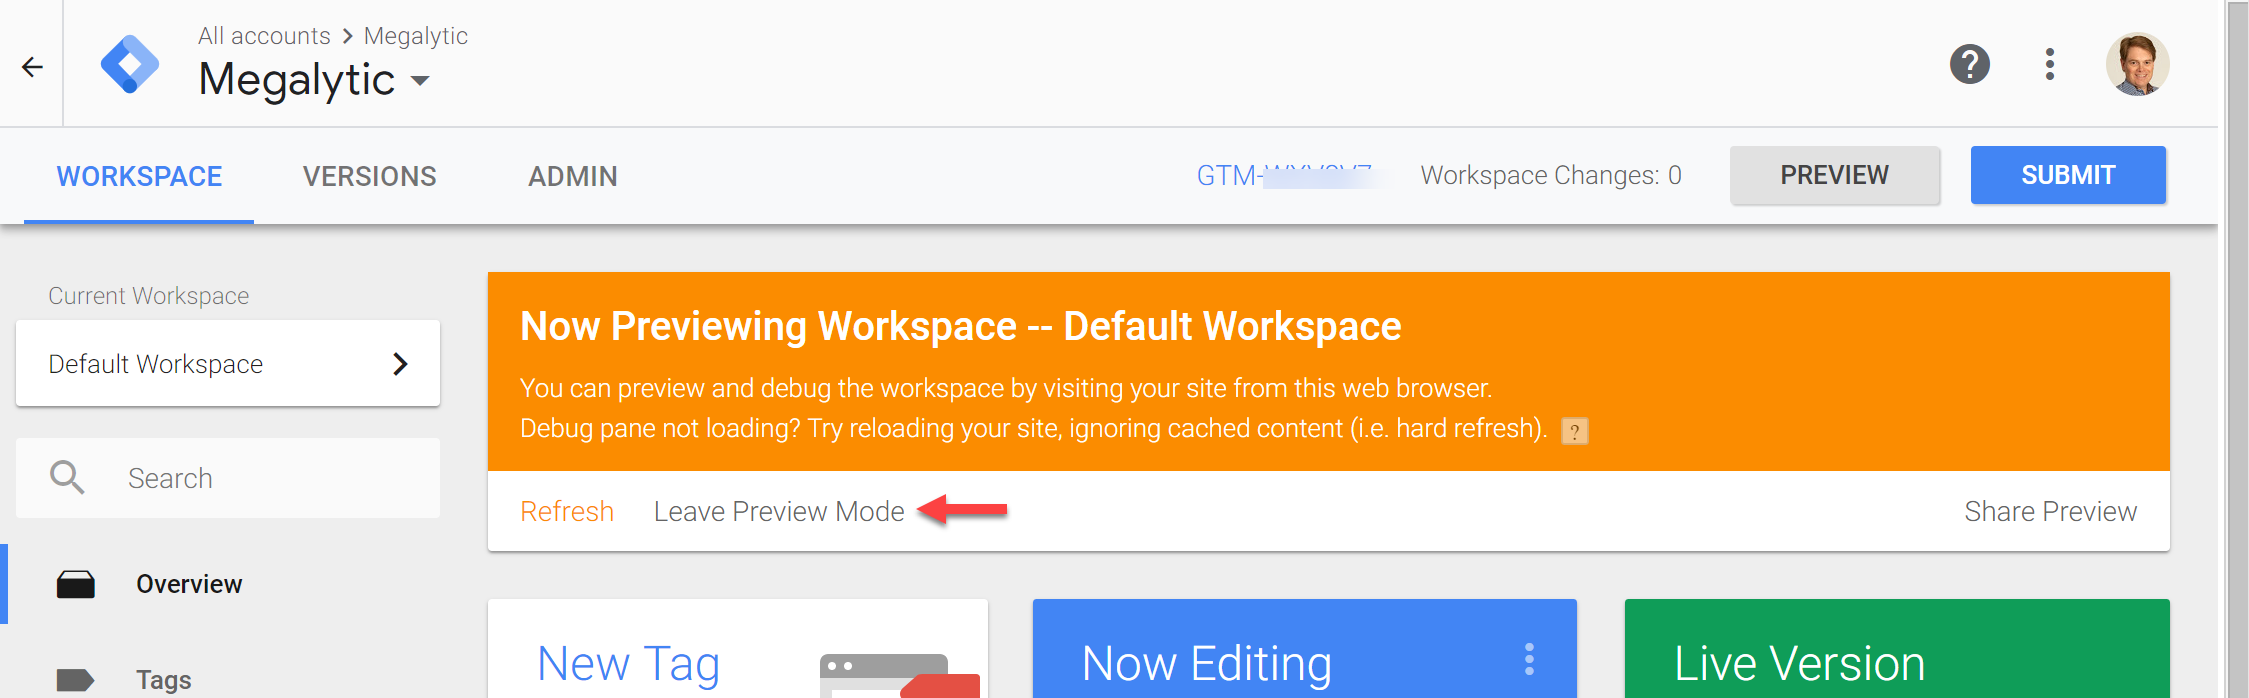
Once you’re in Preview Mode, use the same browser to open a second tab. Then enter your website’s URL and refresh the page. Here you’ll see that a bottom pane has opened. If you review the Summary section, you can view the tags that have fired on the page you just opened.
In our example, we can see that the Facebook Pixel Tag has fired on the Megalytic website.
![]()
After checking your first page, take the time to navigate to a few other pages and check to see that the Facebook Pixel tag is getting fired on all of them. If it’s firing, at this point you can turn off GTM Preview Mode. To do so, click the link at the top of the GTM Workspace that says “Leave Preview Mode”.
If for some reason the tag is not firing on certain pages, it’s likely that the GTM tracking code either hasn’t been installed or has been installed incorrectly on that page. If you experience this issue, you can track down the root of the problem in our next step by using the Google Tag Assistant .
Using Google Tag Assistant to Test GTM Installation
You’ll only need to use this step if you’re having trouble getting your Facebook Pixel Tag to fire on one or more website pages. Since Google Tag Assistant only works with the Chrome browser, if you don’t typically use Chrome, you’ll need to install it.
Once you’ve done so, open Chrome and install the Google Tag Assistant. Then navigate to your website and click on the small blue tag icon in the upper right corner of the Chrome browser.
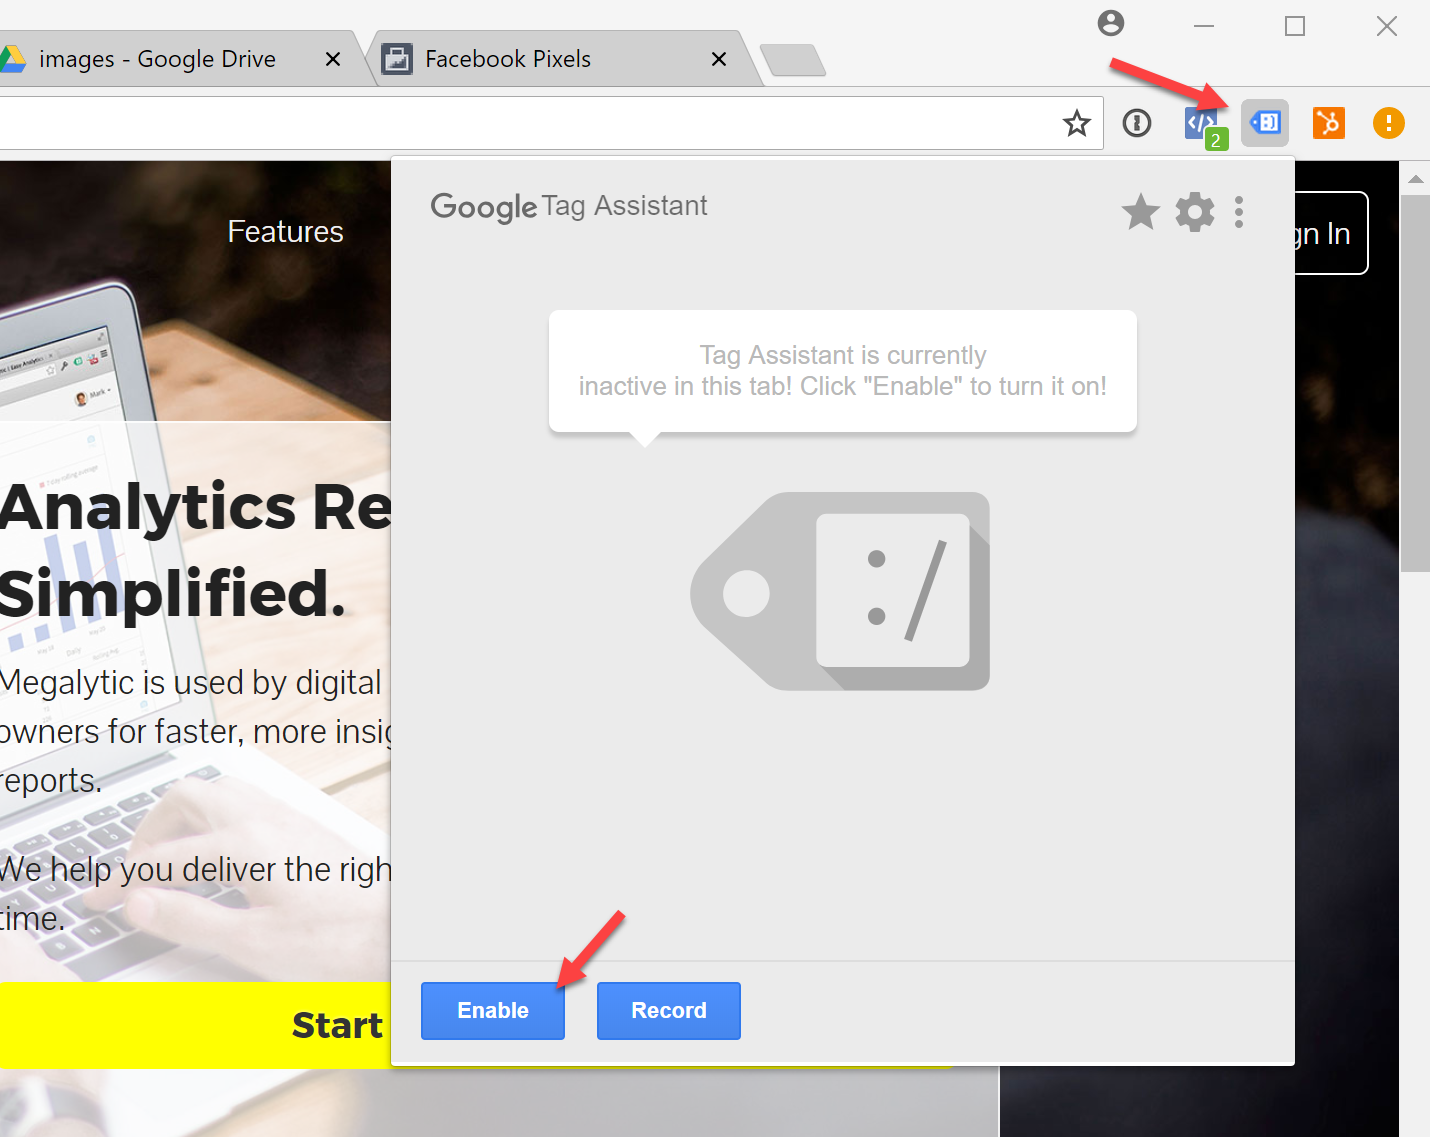
From here, click the “Enable” button in the lower left portion of Google Tag Assistant to turn it on for your website. Then, refresh the page and click on Google Tag Assistant again.
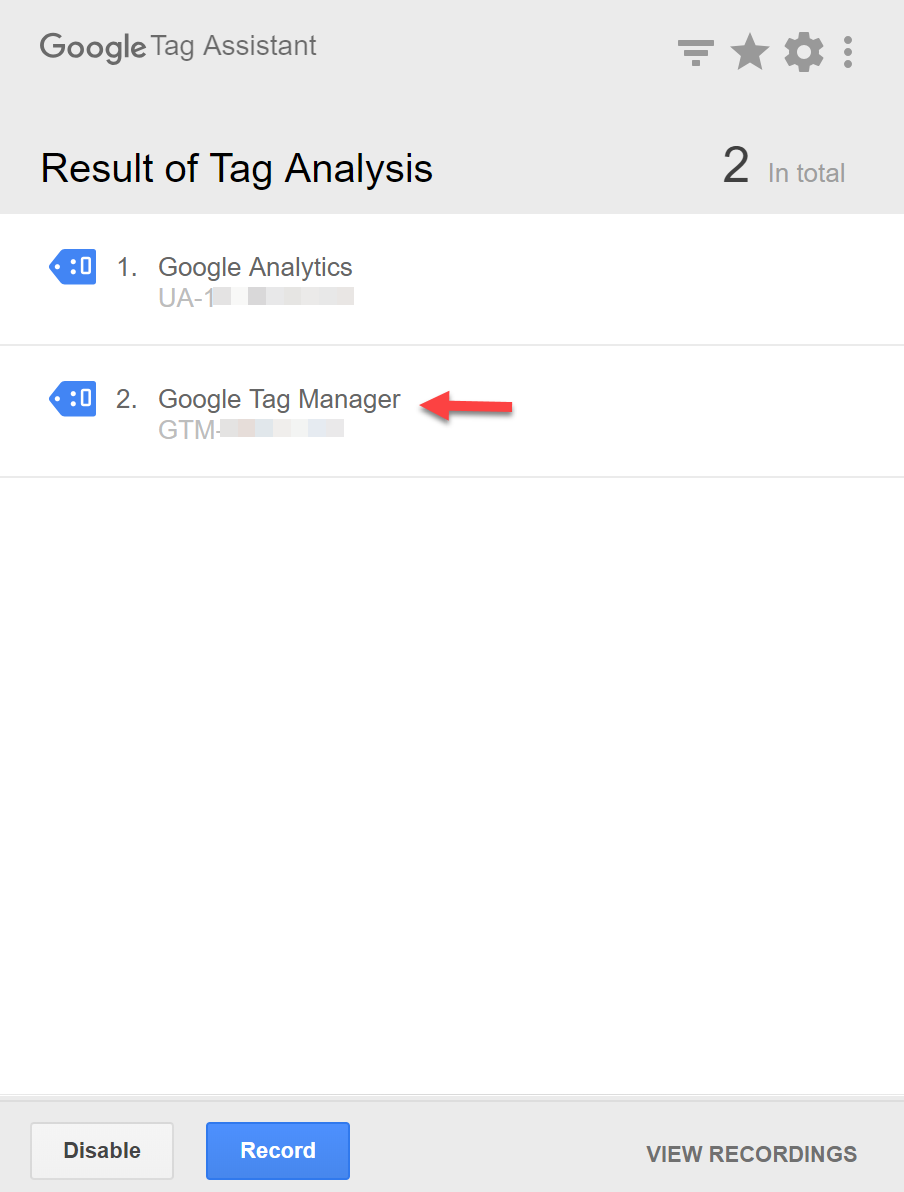
Google Tag Assistant is useful because it shows you the Google Tags that are installed on your website. In the image above, you can see that both GTM and Google Analytics (GA) are installed.
It’s important to note that the tags shown are displayed in blue, but they may appear in other colors depending on their status. If everything looks good, tags are displayed in green. If Google has suggestions, tags are shown in blue. If there are minor problems, tags will appear in yellow, and if there are major problems tags will appear in red.
If you notice that a tag appears in a color other than green, don’t panic: you’ll likely only need to take action if you see a red tag. Blue tags don’t typically indicate an actual problem and yellow tags are usually still working. If a tag is red, however, this indicates that a tag is broken, and you’ll need to contact a web developer to find out the source of the issue.
Now that we’ve reviewed how to use Google Tag Assistant to ensure that GTM is installed correctly on any page, we’ll tell you how to use Facebook’s similar tool to directly test and debug the Facebook Pixel.
Using Facebook Pixel Helper to Test Your Facebook Pixel Implementation
Let’s say you’ve correctly installed Google Tag Manager and it’s working correctly, but after installing the Facebook Pixel Tag (as described above), you’re still having problems. In this case, you’ll need to debug the Facebook Pixel directly using the Facebook Pixel Helper .
Start by installing it on Chrome as you did with Google Tag Assistant. Next, open your website, refresh the page, and click on the Facebook Pixel Helper symbol in the upper right corner of Chrome.
![]()
If the Facebook Pixel is correctly installed, you should see its Pixel ID listed correctly here. If this isn’t the case and you’re interested in learning more about how to use the Facebook Pixel Helper to validate and debug your Facebook tracking, check out the Facebook Pixel Helper documentation .
Final Thoughts
Hopefully, this post has helped you successfully install the Facebook Pixel using Google Tag Manager and solve any problems you experienced along the way. Once the Facebook Pixel is properly installed, you will be able to take advantage of a lot of the optimization features available in Facebook Ads, so it’s definitely worth the effort.